



How to Change CVT Transmission Fluid on a 2000-2019 Subaru Outback (Engine: Flat 6 3.6L)
Step-by-step drain, refill, fluid level, temperature, tools, parts, and torque specs for 2000, 2001, 2002, 2003, 2004, 2005, 2006, 2007, 2008, 2009, 2010, 2011, 2012
How to Change CVT Transmission Fluid on a 2000-2019 Subaru Outback (Engine: Flat 6 3.6L)
Step-by-step drain, refill, fluid level, temperature, tools, parts, and torque specs for 2000, 2001, 2002, 2003, 2004, 2005, 2006, 2007, 2008, 2009, 2010, 2011, 2012


🔧 Outback - CVT Transmission Fluid Change
Changing the CVT fluid on your Outback requires draining the old fluid, refilling with the correct Subaru High Torque CVT fluid, then setting the final level at the correct fluid temperature. This is more exact than an engine oil change because the CVT has no dipstick and the fluid level must be checked through the overflow plug.
Difficulty Level: Advanced | Estimated Time: 1.5-2.5 hours
⚠️ Safety & Precautions
- ⚠️ Use only the correct Subaru High Torque CVT fluid. The wrong fluid can cause CVT shudder, slipping, or internal damage.
- ⚠️ The vehicle must stay level while filling and checking the fluid level.
- ⚠️ CVT fluid gets hot. Wear gloves and safety glasses.
- ⚠️ Never crawl under your Outback supported only by a jack. Always use jack stands or a lift.
- ⚠️ Do not remove the front differential drain plug by mistake. The CVT and front differential are separate systems.
- ⚠️ Battery disconnect is not required for this repair.
🔧 Required Tools
You'll need the following tools for this repair:
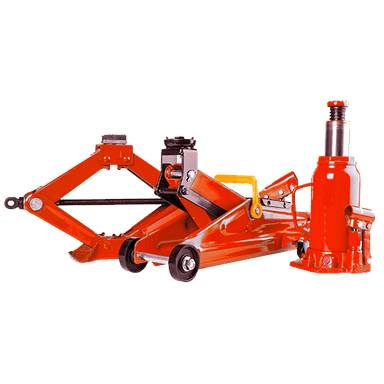
- Floor jack rated 3-ton minimum
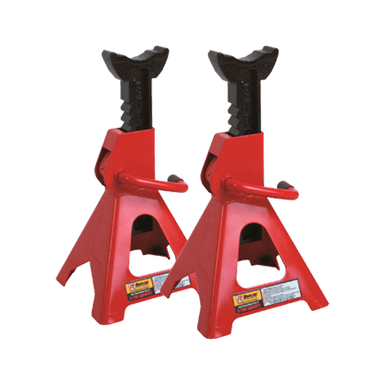
- Jack stands rated 3-ton minimum
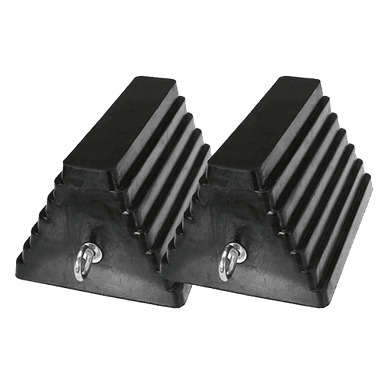
- Wheel chocks
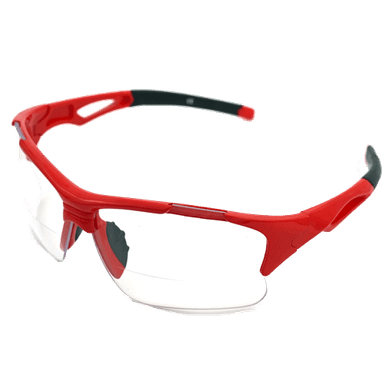
- Safety glasses
- Nitrile gloves
- Drain pan 10-quart minimum
- 3/8-inch drive ratchet
- 10mm socket
- 14mm socket
- 8mm hex bit socket
- T70 Torx bit socket
- Torque wrench 10-80 ft-lb range
- Fluid transfer pump
- OBD2 scan tool with live CVT fluid temperature data
- Infrared thermometer
- Shop towels
🔩 Required Parts
HowToo sells all the parts you need for this repair:
- Subaru High Torque CVT fluid - Qty: 6-8 quarts
- CVT drain plug crush washer - Qty: 1
- CVT fill plug gasket - Qty: 1
- CVT overflow/check plug gasket - Qty: 1
📋 Before You Begin
- Park your Outback on a flat, level surface.
- Set the parking brake and place wheel chocks behind the rear wheels.
- Raise the vehicle with a floor jack and support it level on jack stands.
- A fluid transfer pump is a hand pump used to push new fluid into transmissions that do not have a dipstick tube.
- An overflow/check plug is the plug used to set the final fluid level; excess fluid drains out when the level is correct.
- Connect an OBD2 scan tool that can read live CVT fluid temperature before final level adjustment.
- Do not guess the final fluid level by the amount drained. Temperature matters.
🔨 Step-by-Step Instructions
Follow these steps in order:
Step 1: Remove the Lower Engine Cover
- Use a 10mm socket to remove the lower splash shield bolts and clips under the front of your Outback.
- Use a plastic-safe hand position to lower the shield without bending it.
- Set the fasteners aside in order so they go back in the same locations.
- Take a quick photo first.
Step 2: Identify the Correct CVT Plugs
- Locate the CVT transmission case behind the engine oil pan area.
- Identify the CVT drain plug, fill plug, and overflow/check plug before removing anything.
- Use the T70 Torx bit socket only on the CVT drain plug if fitted on your unit.
- Use the 8mm hex bit socket only on the CVT fill or check plug if fitted on your unit.
- Do not remove the front differential drain plug. It is a separate gear oil compartment.
Step 3: Remove the Fill Plug First
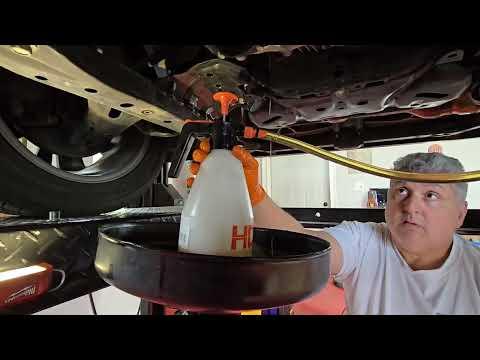
- Place the drain pan under the transmission area.
- Use the 8mm hex bit socket and ratchet to loosen the CVT fill plug first.
- Remove the fill plug and gasket.
- This confirms you can refill the CVT before draining it.
- Replace the old fill plug gasket during reassembly.
Step 4: Drain the Old CVT Fluid
- Move the drain pan directly under the CVT drain plug.
- Use the T70 Torx bit socket and ratchet to loosen the CVT drain plug.
- Carefully remove the plug by hand and let the fluid drain completely.
- Measure the amount drained if possible. This helps estimate the refill amount, but it does not replace the level check.
- Install a new CVT drain plug crush washer.
Step 5: Reinstall the CVT Drain Plug
- Thread the CVT drain plug in by hand first to avoid cross-threading.
- Use the T70 Torx bit socket and torque wrench to tighten the drain plug.
- Torque to 50 Nm (37 ft-lbs)
- Wipe the area clean with shop towels so leaks are easy to spot later.
Step 6: Add Initial New CVT Fluid
- Attach the fluid transfer pump hose to the CVT fill opening.
- Use the fluid transfer pump to add Subaru High Torque CVT fluid.
- Add approximately the same amount that drained out, then add about 0.5 quart extra for the overflow level check.
- Do not install the fill plug yet if you still need to adjust the level.
Step 7: Warm the CVT Fluid
- Start the engine with your foot on the brake.
- Use the OBD2 scan tool to monitor live CVT fluid temperature.
- With the engine idling, move the shifter slowly through P, R, N, D, and back to P.
- Pause 3-5 seconds in each position.
- Keep the engine idling for the level check.
- Target CVT fluid temperature is typically 35-45°C (95-113°F) for final level setting.
Step 8: Set the Final CVT Fluid Level
- Keep your Outback level and the engine idling.
- Use the OBD2 scan tool to confirm CVT fluid temperature is within 35-45°C (95-113°F).
- Use the 8mm hex bit socket to remove the overflow/check plug.
- If fluid flows out in a steady stream, wait until it becomes a thin trickle.
- If no fluid comes out, use the fluid transfer pump to add CVT fluid through the fill opening until fluid begins to trickle from the check hole.
- When the fluid is a thin trickle, the level is correctly set.
- Temperature controls the final level.
Step 9: Reinstall the Overflow/Check Plug
- Install a new overflow/check plug gasket.
- Use the 8mm hex bit socket to thread the plug in by hand first.
- Use the torque wrench to tighten the overflow/check plug.
- Torque to 25 Nm (18 ft-lbs)
Step 10: Reinstall the Fill Plug
- Install a new fill plug gasket.
- Use the 8mm hex bit socket to thread the fill plug in by hand.
- Use the torque wrench to tighten the fill plug.
- Torque to 25 Nm (18 ft-lbs)
- Wipe the transmission case clean with shop towels.
Step 11: Reinstall the Lower Engine Cover
- Use your hands to lift the lower splash shield back into position.
- Use the 10mm socket to reinstall the shield bolts.
- Torque small splash shield bolts to 5 Nm (44 in-lbs)
- Make sure the cover is secure and not hanging near the exhaust or drivetrain.
Step 12: Lower the Vehicle
- Use the floor jack to slightly lift your Outback off the jack stands.
- Remove the jack stands carefully.
- Lower the vehicle slowly onto level ground.
- Remove the wheel chocks only after the vehicle is fully lowered.
✅ After Repair
- With the engine running, check underneath for leaks around the drain, fill, and overflow/check plugs.
- Take a short, gentle test drive of 5-10 minutes.
- Confirm smooth engagement into Reverse and Drive.
- Recheck for leaks after the test drive.
- No battery registration, coding, or infotainment reset is required.
- If the CVT slips, shudders, whines, or delays engagement after service, stop driving and recheck fluid level using scan tool temperature data.
💰 DIY vs Shop Cost
Shop Cost: $300-$550 (parts + labor)
DIY Cost: $120-$220 (parts only)
You Save: $180-$330 by doing it yourself!
Shop labor rates vary but typically run $100-$150/hour. This repair takes a shop approximately 1.0-1.5 hours.
🎯 Ready to get started?
HowToo makes it easy: same-day/2-day shipping on every part, plus all the tools and specialty tools you need! Check out the parts and tools sections below to add everything to your cart.