


How to Replace Front Lower Ball Joints on a 2014-2015 Hyundai Tucson
Step-by-step DIY guide with required tools, parts, torque specs, and safety tips for 2014, 2015
How to Replace Front Lower Ball Joints on a 2014-2015 Hyundai Tucson
Step-by-step DIY guide with required tools, parts, torque specs, and safety tips for 2014, 2015


🔧 Tucson - Front Lower Ball Joint Replacement
The front lower ball joints connect the steering knuckles to the lower control arms while allowing the suspension and steering to move. On your Tucson, each front ball joint is a separate, bolt-on assembly, so the entire control arm normally does not need replacement.
Difficulty Level: Intermediate | Estimated Time: 1.5-2.5 hours per side
Assumption: This procedure covers the front lower ball joints.
⚠️ Safety & Precautions
- ⚠️ Support your Tucson with jack stands. Never work beneath a vehicle supported only by a jack.
- 🧤 Wear safety glasses and gloves because the joint can release suddenly from the steering knuckle.
- 🛞 Do not pull the steering knuckle outward excessively. Doing so can separate the inner CV axle joint or strain the brake hose.
- 🔩 Never strike the threaded ball-joint stud with a hammer.
- 🚫 Do not reuse the cotter pin or any damaged self-locking fastener.
- 🔋 Battery disconnection is not required.
🔧 Required Tools
You'll need the following tools for this repair:
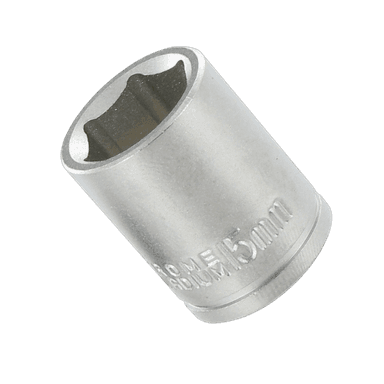
- 21mm impact socket
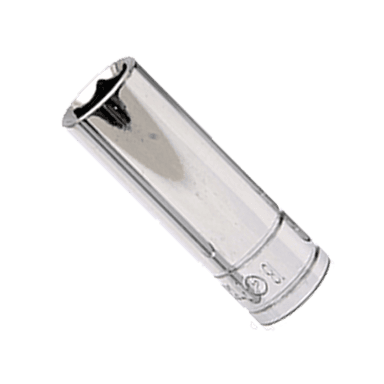
- 19mm deep socket
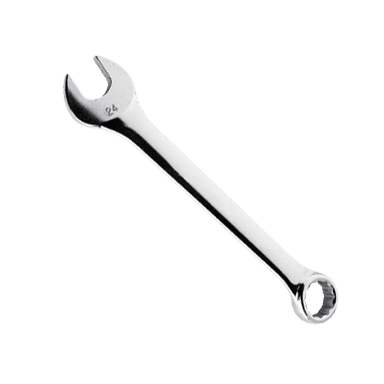
- 19mm combination wrench
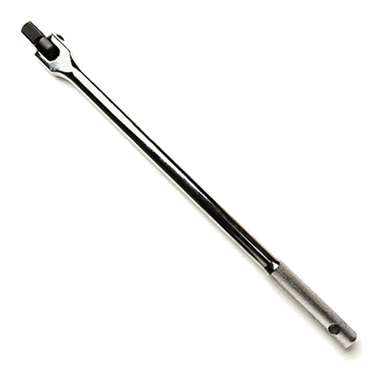
- 1/2-inch drive breaker bar
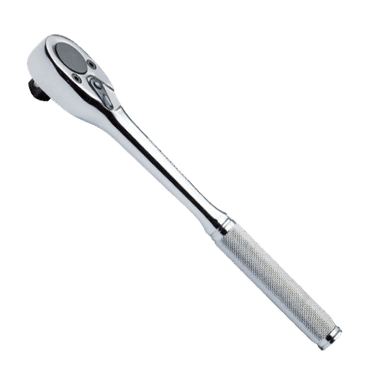
- 1/2-inch drive ratchet
- 1/2-inch drive torque wrench rated 20-200 Nm
- Front lower ball-joint separator (specialty)
- Needle-nose pliers
- Diagonal-cutting pliers
- Flat-blade screwdriver
- 12-inch pry bar
- 16-ounce ball-peen hammer
- Small wire brush
- Floor jack rated 2-ton minimum
- Jack stands rated 2-ton minimum
- Wheel chocks
- Nitrile mechanic gloves
- Safety glasses
🔩 Required Parts
HowToo sells all the parts you need for this repair:
- Front lower ball joint - Qty: 1 per side
- Ball-joint mounting locknuts - Qty: 3 per side
- Ball-joint stud cotter pin - Qty: 1 per side
- Penetrating oil - Qty: 1 can
Recommended: Replace front ball joints in pairs when both have similar mileage or wear.
📋 Before You Begin
- 🚙 Park your Tucson on firm, level ground. Shift into Park and apply the parking brake.
- 🧱 Place wheel chocks securely behind both rear wheels.
- 📦 Compare each replacement joint with the original before disassembly. Confirm the stud taper, mounting pattern, and supplied hardware match.
- 🛠️ A ball-joint separator is a screw-operated tool that pushes the tapered stud out without striking its threads.
- 🧭 No infotainment service mode or scan tool is required.
🔨 Step-by-Step Instructions
Follow these steps in order:
Step 1: Loosen the Wheel Nuts
- With the tire still on the ground, use a 21mm impact socket and 1/2-inch breaker bar to loosen each wheel nut approximately one-half turn.
- Do not remove the wheel nuts yet.
Step 2: Raise and Support the Vehicle
- Position a 2-ton floor jack beneath the specified front subframe lifting point and raise your Tucson.
- Place 2-ton jack stands beneath the reinforced front support points.
- Lower the vehicle carefully onto the stands, then gently push the body to verify it is stable.
- Keep the floor jack lightly touching the subframe as an additional safeguard.
Step 3: Remove the Front Wheel
- Use the 21mm impact socket and 1/2-inch ratchet to remove the wheel nuts.
- Remove the wheel and slide it beneath the rocker-panel area as an extra safety measure.
Step 4: Clean and Inspect the Joint
- Use a small wire brush to remove rust and dirt from the ball-joint stud nut and three mounting nuts beneath the control arm.
- Apply penetrating oil to the exposed threads and allow it to soak for several minutes.
- Inspect the brake hose and ABS sensor wire. Make sure neither will be stretched during the repair.
Step 5: Remove the Cotter Pin and Loosen the Stud Nut
- Use needle-nose pliers to straighten the cotter pin passing through the ball-joint stud.
- Pull it out with needle-nose pliers. If it is seized, cut it with diagonal-cutting pliers and remove the remaining pieces.
- Use a 19mm deep socket and 1/2-inch breaker bar to loosen the castellated nut. A castellated nut has slots that lock against a cotter pin.
- Leave the nut threaded on by several turns so the joint cannot release unexpectedly.
Step 6: Separate the Ball Joint from the Knuckle
- Position the front lower ball-joint separator between the steering knuckle and the ball-joint stud.
- Tighten the separator until the tapered stud releases with a sharp pop.
- Remove the separator, then remove the loosened nut with the 19mm deep socket and 1/2-inch ratchet.
- Do not use the brake hose, ABS wire, or CV axle as support for the knuckle.
- Keep fingers clear when the taper releases.
Step 7: Remove the Ball Joint from the Control Arm
- Support the lower control arm lightly with the 2-ton floor jack. Do not lift the vehicle off the jack stand.
- Use a 19mm deep socket, 19mm combination wrench, and 1/2-inch breaker bar to remove the three ball-joint mounting locknuts.
- Use a 12-inch pry bar carefully between the control arm and steering knuckle to create enough clearance for removal.
- Use a 16-ounce ball-peen hammer to tap only the old joint’s flange if corrosion holds it in place.
- Remove the ball joint from the control arm.
Step 8: Install the New Ball Joint
- Use the small wire brush and flat-blade screwdriver to clean rust and debris from the control-arm mounting surface.
- Position the new ball joint in the same orientation as the original.
- Install three new mounting locknuts by hand to prevent cross-threading.
- Use the 19mm deep socket and torque wrench to tighten the three mounting locknuts evenly to Torque to 98-118 Nm (72-87 ft-lbs).
Step 9: Connect the Ball Joint to the Knuckle
- Use the 12-inch pry bar carefully to align the ball-joint stud with the tapered hole in the steering knuckle.
- Guide the stud fully into the knuckle without damaging the rubber dust boot.
- Thread the stud nut on by hand.
- Use the 19mm deep socket and torque wrench to tighten the nut to Torque to 59-71 Nm (44-52 ft-lbs).
- If the cotter-pin holes do not align, tighten the nut slightly farther to the next slot. Never loosen the nut to align it.
- Insert a new cotter pin with needle-nose pliers and bend both ends securely around the nut.
Step 10: Inspect the Installation
- Use a flat-blade screwdriver only as a pointer to inspect around the dust boot; do not puncture it.
- Verify the boot is not twisted, pinched, or torn.
- Confirm all three mounting nuts are seated and the cotter pin is secure.
- Check that the brake hose and ABS sensor wire remain in their original routing.
Step 11: Reinstall the Wheel
- Install the wheel and thread all wheel nuts by hand.
- Use the 21mm impact socket and 1/2-inch ratchet to snug the nuts in a crisscross pattern. Do not apply final torque while the vehicle is raised.
- Remove the safety wheel from beneath the vehicle if it was placed there.
Step 12: Lower the Vehicle and Torque the Wheel
- Use the 2-ton floor jack to lift your Tucson slightly, remove the jack stands, and lower it fully.
- Use the 21mm impact socket and torque wrench to tighten the wheel nuts in a crisscross pattern to Torque to 88-108 Nm (65-80 ft-lbs).
- Repeat the complete procedure on the opposite side if replacing both ball joints.
✅ After Repair
- 🔍 Turn the steering wheel slowly from lock to lock while parked. Listen for binding or unusual noises.
- 🚗 Take a slow test drive on a quiet road. Verify the steering returns normally and there are no clunks.
- 🧭 Have a four-wheel alignment checked after replacement, especially if the tire wear or steering wheel position was abnormal.
- 🔩 Recheck wheel-nut torque after approximately 80-160 km.
- ⛔ Stop driving immediately if the steering feels loose, the vehicle pulls sharply, or a clunk remains.
💰 DIY vs Shop Cost
Shop Cost: ₹12,000-₹25,000 for both sides, including parts, labor, and alignment
DIY Cost: ₹4,000-₹10,000 for both sides, excluding tool purchases
You Save: ₹8,000-₹15,000 by doing it yourself!
Labor rates around Panipat vary. This repair takes a shop approximately 2-3 hours for both sides, plus alignment time.
🎯 Ready to get started?
HowToo makes it easy: same-day/2-day shipping on every part, plus all the tools and specialty tools you need! Check out the parts and tools sections below to add everything to your cart.