


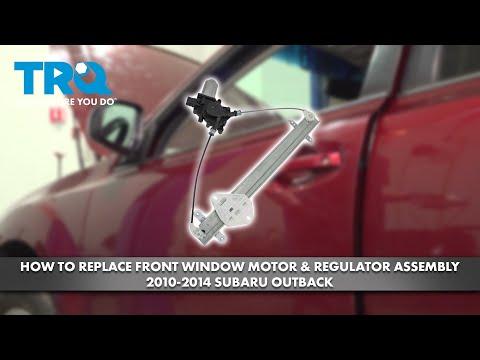
How to Replace Front Window Regulators on a 2010-2014 Subaru Outback (Trim: 2.5i)
Step-by-step instructions for both front doors, including tools, parts, torque specs, and safety tips for 2010, 2011, 2012, 2013, 2014
How to Replace Front Window Regulators on a 2010-2014 Subaru Outback (Trim: 2.5i)
Step-by-step instructions for both front doors, including tools, parts, torque specs, and safety tips for 2010, 2011, 2012, 2013, 2014


🔧 Outback - Front Window Regulator Replacement
The window regulator is the mechanism that raises and lowers the door glass. Replacing both front regulators requires removing each door panel, supporting the glass, disconnecting the regulator, and transferring the motor if the new regulators do not include motors.
Difficulty Level: Intermediate | Estimated Time: 3-5 hours for both front doors
⚠️ Safety & Precautions
- ⚠️ Wear safety glasses and cut-resistant gloves because the door contains sharp metal edges.
- ⚠️ Do not place your fingers beneath unsupported door glass.
- ⚠️ Secure the glass with painter’s tape before removing the regulator.
- ⚠️ Disconnect the negative battery cable after positioning the glass. Wait at least 60 seconds before disconnecting door wiring.
- ⚠️ Do not probe yellow airbag wiring or connectors with a test light or multimeter.
- ⚠️ Keep the adhesive moisture barrier intact. Water leaks and electrical damage can result if it is not resealed.
🔧 Required Tools
You'll need the following tools for this repair:
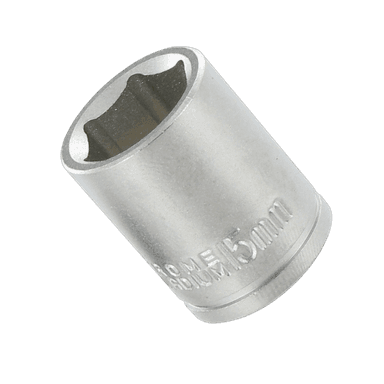
- 10mm socket
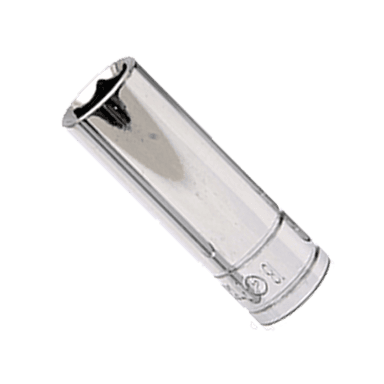
- 10mm deep socket
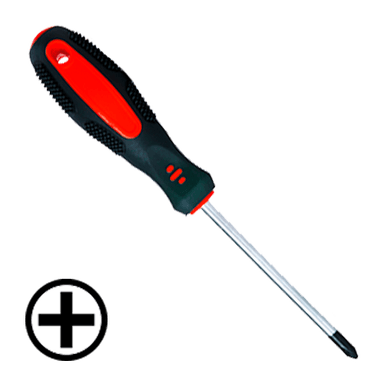
- Phillips #2 screwdriver
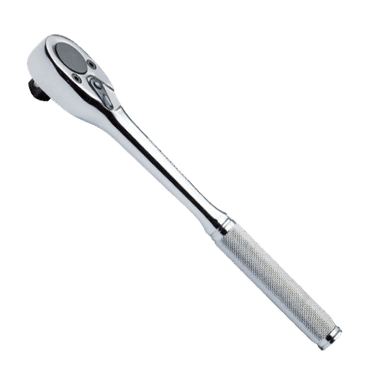
- 1/4-inch drive ratchet
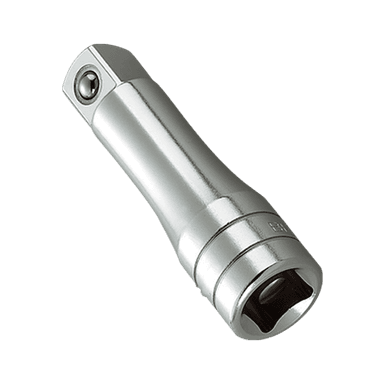
- 1/4-inch drive 6-inch extension
- Torque wrench rated 2-20 Nm
- Plastic trim-removal tool set
- Small flat-blade screwdriver
- Plastic razor scraper
- Painter’s tape rated for glass
- Magnetic parts tray
- Permanent marker with fine tip
- Cut-resistant work gloves
- Safety glasses
🔩 Required Parts
HowToo sells all the parts you need for this repair:
- Left-front window regulator assembly - Qty: 1
- Right-front window regulator assembly - Qty: 1
- Window regulator motor - Qty: 2 only if not included or the original motors have failed
- Front door trim-panel clips - Qty: 1 set per door
- Automotive butyl sealing tape - Qty: 1 roll
Parts note: Regulators do not need to be replaced in pairs. Replace only the failed side unless both sides are noisy, slow, or damaged.
📋 Before You Begin
- 📋 Park your Outback on level ground, switch off all accessories, and open the front door being repaired.
- 📋 Turn the ignition on and position the glass until its two mounting fasteners align with the door access openings. Turn the ignition off.
- 📋 If the regulator will not move, remove the trim panel first and carefully reposition the mechanism after supporting the glass. Do not force the glass by hand.
- 📋 Disconnect the negative battery terminal with a 10mm socket, isolate the cable, and wait at least 60 seconds.
- 📋 A trim-removal tool is a plastic lever designed to release clips without scratching the door.
- 📋 Complete one door before beginning the other. The opposite assembled door can be used as a reference.
🔨 Step-by-Step Instructions
Follow these steps in order:
Step 1: Remove the Inside Handle Screw Cover
- Use a small flat-blade screwdriver to carefully open the small cover behind the interior door-release handle.
- Place tape over the screwdriver tip if needed to prevent scratches.
- Use a Phillips #2 screwdriver to remove the exposed screw.
- Store the screw in a magnetic parts tray.
Step 2: Remove the Door-Pull Fastener
- Use a plastic trim-removal tool to lift the rubber mat or trim cover inside the door-pull recess.
- Use a Phillips #2 screwdriver to remove the screw beneath it.
- Keep each door’s fasteners separated.
Step 3: Release the Door Trim Panel
- Insert a plastic trim-removal tool between the lower edge of the panel and the metal door.
- Work around the bottom and sides, releasing one retaining clip at a time.
- After all clips release, lift the panel straight upward to unhook it from the window ledge.
- Do not pull the panel away sharply because wiring and handle cables remain connected.
Step 4: Disconnect the Panel Wiring and Cables
- Support the panel with one hand while pressing the electrical connector locks by hand.
- Disconnect the window-switch and courtesy-light connectors without pulling on their wires.
- Release the interior-handle cable housings from their brackets, then unhook the cable ends by hand.
- Set the trim panel on a clean padded surface.
Step 5: Remove the Inner Bracket and Moisture Barrier
- Use a 10mm socket, 6-inch extension, and 1/4-inch drive ratchet to remove any inner trim bracket blocking access.
- Use a plastic razor scraper to separate the moisture barrier from its butyl adhesive. Butyl is the soft, reusable black sealant around the barrier.
- Peel the barrier back only as far as necessary. Do not tear it.
- Keep the adhesive clean so the barrier can be resealed later.
Step 6: Mark and Secure the Door Glass
- Use a permanent marker to outline the installed positions of the glass clamps or mounting fasteners.
- Apply several long strips of painter’s tape over the top of the door frame and onto both sides of the glass.
- Use enough tape to hold the glass securely after its fasteners are removed.
- Gently test that the glass cannot drop before continuing.
Step 7: Detach the Glass from the Regulator
- Use a 10mm deep socket, 6-inch extension, and 1/4-inch drive ratchet through the access openings to remove the two glass mounting fasteners.
- Keep one hand near the glass while removing the final fastener.
- Carefully slide the glass fully upward by hand and add more painter’s tape.
- Do not remove the glass from the door unless it is damaged or obstructing regulator removal.
Step 8: Disconnect and Remove the Regulator
- Press the locking tab by hand and disconnect the window-motor electrical connector.
- Use a permanent marker to mark the positions of the regulator mounting points.
- Use a 10mm socket and 1/4-inch drive ratchet to remove the regulator and motor mounting bolts.
- Support the regulator while removing its final bolt.
- Fold the regulator rails inward as needed and guide the assembly through the largest door opening.
- Do not bend the window tracks or scratch the glass.
Step 9: Transfer the Window Motor if Required
- Skip this step if the replacement regulator includes the correct motor.
- Place both regulators beside each other in the same orientation.
- Use a 10mm socket and 1/4-inch drive ratchet to remove the motor fasteners while holding the motor firmly.
- Fit the motor squarely into the new regulator’s drive gear. Do not force the gears together.
- Use a torque wrench and 10mm socket to tighten the motor fasteners evenly to Torque to 5.9 Nm (52 in-lbs).
Step 10: Install the New Regulator
- Guide the new assembly through the door opening without bending its rails or cables.
- Start every mounting bolt by hand to prevent crossed threads.
- Align the regulator with the marks made before removal.
- Use a torque wrench and 10mm socket to tighten the regulator mounting bolts evenly to Torque to 7.5 Nm (66 in-lbs).
- Reconnect the window-motor electrical connector by hand until its lock clicks.
Step 11: Attach and Align the Glass
- Hold the glass securely and remove only enough painter’s tape to lower it onto the regulator mounts.
- Align the glass mounting points with the marks made earlier.
- Install both fasteners by hand before tightening either one.
- Use a torque wrench and 10mm deep socket to tighten the glass mounting fasteners evenly to Torque to 7.5 Nm (66 in-lbs).
- Remove the remaining painter’s tape from the glass.
Step 12: Test the Regulator Before Reassembly
- Keep hands, tools, and loose clothing outside the door cavity.
- Temporarily reconnect the window-switch connector by hand.
- Reconnect the negative battery terminal with a torque wrench and 10mm socket to Torque to 7.5 Nm (66 in-lbs).
- Turn the ignition on and operate the window through one slow cycle.
- Confirm that the glass stays centered and does not tilt, bind, click, or contact the door.
- If adjustment is needed, turn the ignition off, disconnect the negative battery cable with a 10mm socket, and wait 60 seconds before loosening any fasteners.
Step 13: Reseal the Moisture Barrier
- Disconnect the negative battery cable again with a 10mm socket and wait at least 60 seconds.
- Press the original adhesive firmly against the barrier by hand.
- If the original sealant is contaminated or missing, apply automotive butyl sealing tape around the original sealing path.
- Use a plastic razor scraper to press the barrier into the butyl without puncturing it.
- Make sure the barrier is sealed along its bottom edge so rainwater cannot reach the trim panel.
Step 14: Reinstall the Door Trim Panel
- Replace damaged trim-panel clips by hand before fitting the panel.
- Reconnect the handle cables and engage their housings in the correct brackets by hand.
- Reconnect all electrical connectors by hand until their locks click.
- Hook the top of the panel over the window ledge, then align the retaining clips with their holes.
- Press around the panel perimeter by hand until every clip is fully seated.
- Use a Phillips #2 screwdriver to reinstall the door-pull and handle screws until snug. Do not overtighten screws installed in plastic.
- Reinstall the screw covers and door-pull mat by hand.
Step 15: Repeat on the Opposite Front Door
- Repeat Steps 1 through 14 if the other front regulator also requires replacement.
- Use the same listed tools and safety precautions.
- Keep left-side and right-side regulators, clips, and fasteners separated.
✅ After Repair
- ✅ Reconnect the negative battery terminal with a torque wrench and 10mm socket to Torque to 7.5 Nm (66 in-lbs).
- ✅ Turn the ignition to ON without starting the engine.
- ✅ For each affected automatic window, lower the glass at least halfway. Then raise it fully and continue holding the switch upward for approximately one second.
- ✅ Test manual movement, automatic movement, and the driver’s master-control switch.
- ✅ Confirm the glass seals evenly and does not produce wind noise.
- ✅ Verify that the locks, mirrors, speakers, courtesy lights, and interior handles work correctly.
- ✅ Check the bottom of each door after rain or washing for signs of a poorly sealed moisture barrier.
💰 DIY vs Shop Cost
Shop Cost: ₹24,000-₹48,000 for both front doors, depending on regulator and motor condition
DIY Cost: ₹9,000-₹24,000 for parts and consumables
You Save: ₹15,000-₹24,000 by doing it yourself!
Panipat labor rates and imported-part prices vary. This repair takes a shop approximately 2.5-4 hours for both doors.
🎯 Ready to get started?
HowToo makes it easy: same-day/2-day shipping on every part, plus all the tools and specialty tools you need! Check out the parts and tools sections below to add everything to your cart.