


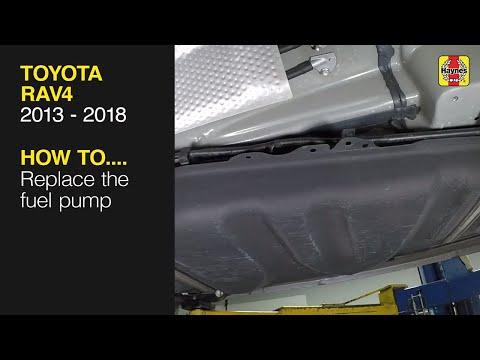
How to Replace the Fuel Pump on a 2017 Toyota RAV4
Step-by-step instructions with tools, parts, safety tips, and torque specs for 2009, 2010, 2011, 2012, 2013, 2014, 2015, 2016, 2017, 2018
How to Replace the Fuel Pump on a 2017 Toyota RAV4
Step-by-step instructions with tools, parts, safety tips, and torque specs for 2009, 2010, 2011, 2012, 2013, 2014, 2015, 2016, 2017, 2018


🔧 Fuel Pump - Replacement
This procedure covers replacing the in-tank fuel pump module on your RAV4. On a hybrid, the fuel pump is part of the tank module, so you’ll be working around fuel vapors and the rear seat area. The job is straightforward if you stay organized and use care with the fuel lines and electrical connectors.
Difficulty Level: Intermediate | Estimated Time: 2-4 hours
⚠️ Safety & Precautions
- Work in a well-ventilated area away from sparks, flames, and hot lights.
- Relieve fuel pressure before disconnecting any fuel lines.
- Disconnect the 12V battery negative cable before opening the fuel tank access area.
- Keep a fire extinguisher nearby.
- Do not use power tools near open fuel vapors.
- Hybrid system high voltage is not normally exposed for this repair, but keep the vehicle powered down and do not turn it READY.
🔧 Required Tools
You'll need the following tools for this repair:
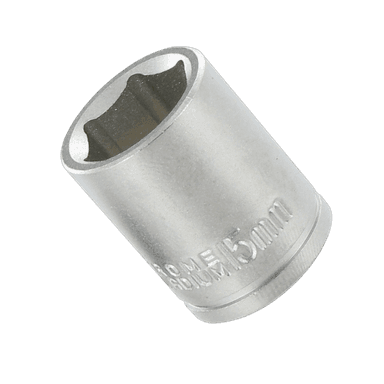
- 10mm socket
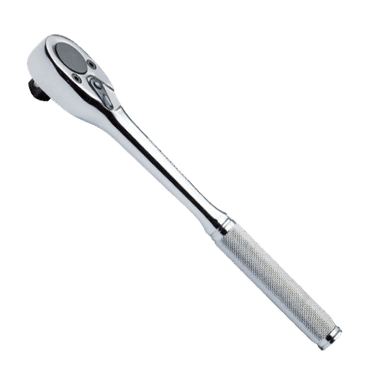
- 3/8-inch ratchet
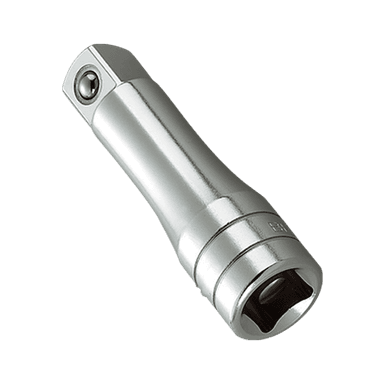
- 3-inch extension
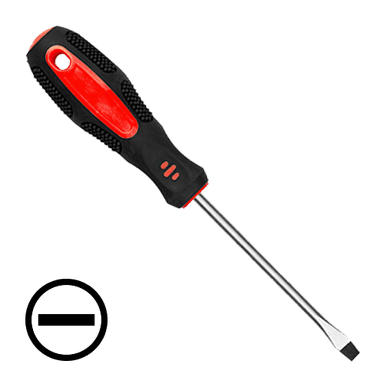
- Flat-blade screwdriver
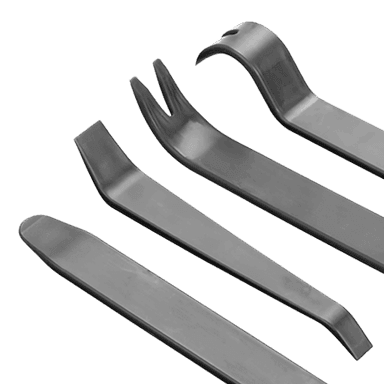
- Trim removal tool
- Fuel line disconnect tool
- Needle-nose pliers
- Torque wrench
- Shop towels
- Drain pan
- Safety glasses
- Nitrile gloves
🔩 Required Parts
HowToo sells all the parts you need for this repair:
- Fuel pump module - Qty: 1
- Fuel pump module seal/gasket - Qty: 1
- Fuel tank access cover seal or butyl tape - Qty: 1
- New hose clips or retaining clips - Qty: 1 set
📋 Before You Begin
- Park on level ground and set the parking brake.
- Keep the fuel level low if possible before starting.
- Disconnect the 12V battery negative terminal before opening the access panel.
- Open the fuel filler cap carefully to release any tank vapor pressure.
🔨 Step-by-Step Instructions
Follow these steps in order:
Step 1: Disconnect power
- Use a 10mm socket to disconnect the 12V battery negative cable.
- Wait at least 5 minutes before opening any fuel system access.
Step 2: Access the fuel pump module
- Remove the rear seat cushion or access trim using a trim removal tool.
- Lift the carpet or cover to expose the fuel pump access panel.
- Remove the access cover fasteners with a flat-blade screwdriver or the correct trim tool.
- Keep screws and clips in a tray.
Step 3: Relieve fuel pressure and disconnect connectors
- Place shop towels around the pump area.
- Disconnect the electrical connector by releasing the lock tab with a flat-blade screwdriver if needed.
- If equipped, disconnect the fuel line using a fuel line disconnect tool.
- Cap or wrap the line ends to keep dirt out.
Step 4: Remove the fuel pump module
- Clean the top of the tank area before opening it so dirt does not fall in.
- Use a fuel pump lock ring tool (specialty) to remove the lock ring, or carefully tap the ring loose if the correct tool is not available.
- Lift the fuel pump module straight up and out of the tank.
- Angle it slowly to avoid bending the float arm.
Step 5: Install the new pump module
- Transfer any needed parts from the old unit to the new one if the replacement is not complete.
- Install the new fuel pump module seal/gasket in the tank opening.
- Lower the new module into place carefully.
- Install the lock ring and tighten it with the fuel pump lock ring tool (specialty).
- Torque to 35 Nm (26 ft-lbs) for the lock ring if you are using a torque-capable method.
Step 6: Reconnect lines and reassemble
- Reconnect the fuel line until it clicks securely.
- Reconnect the electrical connector.
- Install the access cover and trim panels.
- Reinstall the rear seat cushion if it was removed.
Step 7: Restore power and prime the system
- Reconnect the 12V battery negative cable with a 10mm socket.
- Turn the ignition ON without starting the vehicle for several seconds, then OFF.
- Repeat this 2-3 times to prime the fuel system.
✅ After Repair
- Check for fuel leaks around the access area and under the vehicle.
- Start the engine and let it idle while watching for leaks or warning lights.
- Confirm the fuel gauge works normally.
- If the vehicle runs rough at first, let it idle and recheck all connections.
💰 DIY vs Shop Cost
Shop Cost: $900-$1,600 (parts + labor)
DIY Cost: $250-$700 (parts only)
You Save: $650-$900 by doing it yourself!
Shop labor rates vary but typically run $100-$150/hour. This repair takes a shop approximately 2-4 hours.
🎯 Ready to get started?
HowToo makes it easy: same-day/2-day shipping on every part, plus all the tools and specialty tools you need! Check out the parts and tools sections below to add everything to your cart.